
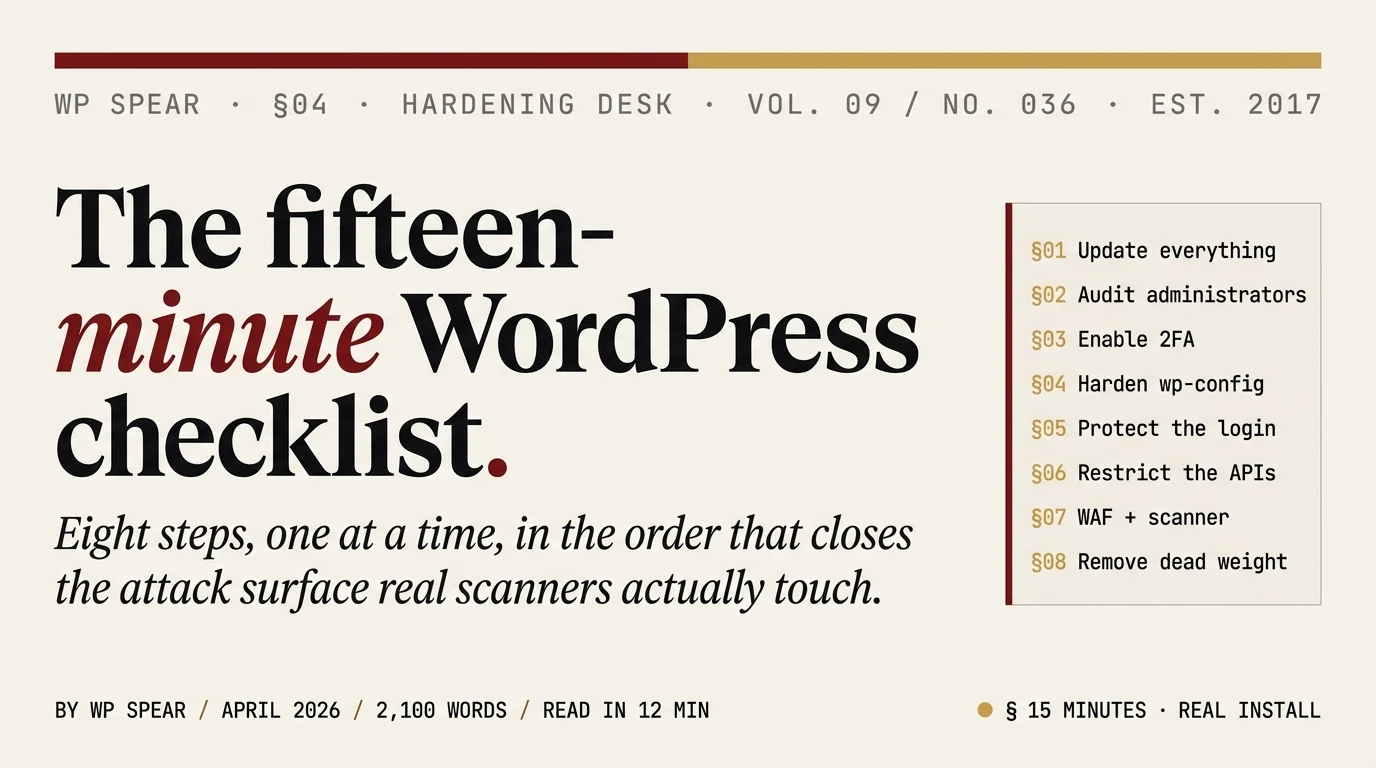
This is the checklist we run on a WordPress install before it goes into production, and again on every client site we inherit. It takes about fifteen minutes on a hosting account where you have SSH or a decent file manager. The goal is to close the attack surface that automated scanners actually touch. Not every theoretical vulnerability. The real ones.
Most WordPress security checklists are thirty items long, cover every setting the author could think of, and finish with “use a security plugin.” That is not a checklist. That is a shopping list. This one is ordered by the attack vectors that actually compromise WordPress sites in 2026, sequenced so that each step closes a class of attack before the next one starts.
If you have done none of this before, do it in order. If you have done some of it, skip the steps you already completed and verify they are still in place.
Before you start
You need three things:
- Admin access to the WordPress dashboard
- SSH or SFTP access to the site’s webroot
- A backup that exists somewhere other than the infected server (if you have never taken one, take one now. A
wp db exportplus a tar ofwp-content/is sufficient for this exercise)
If you do not have SSH and your host does not offer one, most of what follows still works through your hosting control panel’s file manager, but the copy-paste commands do not.
Step 1. Update everything (2 minutes)
The single most impactful thing you can do for a WordPress install’s security is run the pending updates. Wordfence’s vulnerability intelligence consistently shows that the plugins and themes exploited in the wild are the ones patched weeks or months earlier. The patch exists. The site did not install it.
From the command line:
wp core update
wp plugin update --all
wp theme update --all
wp core update-db
wp language core update
wp language plugin update --all
From the dashboard, go to Dashboard → Updates and run everything listed. If you are afraid to run updates because the site has historically broken from them, that is a separate problem. You have an untested site, not a security problem, and the fix is a staging environment and a tested update procedure, not skipping the patch.
Step 2. Review administrator accounts (2 minutes)
Every production WordPress site we inherit has at least one administrator account that should not exist. Former developers, former agencies, a user with login name admin that was never deleted, a duplicate of the current operator because someone forgot the password and created a new one.
List your administrators:
wp user list --role=administrator --fields=ID,user_login,user_email,user_registeredFor each account, ask three questions:
- Does this person still work with the site?
- If yes, do they need administrator permissions, or would editor or shop_manager be enough?
- Is the login name
admin,administrator,root, or the site’s domain name? If so, rename it.
Remove, demote, or rename. Then force a password reset on what remains:
wp user reset-password <login> --skip-emailEvery administrator must use a password manager. Reused passwords are how credential stuffing works.
Step 3. Enable two-factor authentication (3 minutes)
2FA on the administrator account blocks credential stuffing and most brute-force attacks at the login screen. WordPress core does not ship 2FA. You need either a plugin or a server-level auth layer.
The two plugins we install are Two Factor (free, maintained by the WordPress core team, does only 2FA and does it well) or the 2FA module bundled in a security plugin you are already running. Pick one, not both.
After install:
- Enable TOTP (authenticator app) as the primary factor
- Generate backup codes, print them, put them somewhere physical
- Log out, log back in with 2FA, confirm the flow works before you apply it to other administrators
Do not rely on SMS 2FA for a WordPress admin account. SIM swap attacks are cheap and common.
Step 4. Harden wp-config.php (2 minutes)
Open wp-config.php in the webroot. Above the line that reads /* That's all, stop editing! Happy publishing. */, add these constants if they are not already there:
define('DISALLOW_FILE_EDIT', true);
define('DISALLOW_FILE_MODS', true);
define('FORCE_SSL_ADMIN', true);
define('WP_AUTO_UPDATE_CORE', 'minor');
define('AUTOMATIC_UPDATER_DISABLED', false);
What each line does:
DISALLOW_FILE_EDITremoves the theme and plugin code editor from the dashboard. If an attacker compromises an administrator session, they cannot inject PHP through the editor.DISALLOW_FILE_MODSprevents plugin and theme installation from the dashboard. Updates happen through WP-CLI or SFTP instead. Aggressive; skip it if you have non-technical site operators who install plugins regularly.FORCE_SSL_ADMINforces HTTPS on/wp-admin/. Non-negotiable on any production site.- The auto-update constants ensure security patches to WordPress core land automatically without requiring a manual step.
Then change file permissions:
chmod 640 wp-config.php
chown root:www-data wp-config.php
Adjust the group to whatever your host uses. The point is that only the web server can read the file, and nothing can write to it.
Step 5. Protect the login screen (2 minutes)
Every WordPress install has the same login URL: /wp-login.php. Every automated brute force tool on the internet knows this. Two ways to make that login either invisible or unreachable:
Option A: Rename the login URL. A plugin like WPS Hide Login changes /wp-login.php to a URL of your choosing. This does not add real security. The goal is to drop the bot traffic hitting the login endpoint by 99%, which in turn reduces noise in your logs and load on your server. Security-through-obscurity in the purest sense, but effective because most bots will not look for the new URL.
Option B: HTTP basic auth on wp-admin. Add a second authentication layer at the web server before WordPress ever sees the request. For nginx:
location ~ ^/(wp-admin|wp-login\.php) {
    auth_basic "Restricted";
    auth_basic_user_file /etc/nginx/.htpasswd-wpspear;
    # then pass through to PHP as normal
}
For Apache, add to the .htaccess in the site root:
<Files wp-login.php>
    AuthType Basic
    AuthName "Restricted"
    AuthUserFile /path/to/.htpasswd
    Require valid-user
</Files>
Now pick one:
- Small site, non-technical owners: Option A.
- Agency-managed site, technical operator only: Option B.
- Both at once: unnecessary overhead. Pick one.
Step 6. Restrict xmlrpc.php and REST endpoints (1 minute)
WordPress ships two API surfaces that are regularly abused: xmlrpc.php (legacy) and the REST API under /wp-json/.
XML-RPC is used by almost nothing modern. If your site does not use the Jetpack plugin or a remote publishing client that still speaks XML-RPC, block it entirely. In your .htaccess:
<Files xmlrpc.php>
    Require all denied
</Files>
Or at the nginx level:
location = /xmlrpc.php {
    return 403;
}
For the REST API, the default configuration exposes usernames at /wp-json/wp/v2/users. This is useful reconnaissance for credential stuffing. Unless your site depends on public user data (most do not), require authentication:
add_filter( 'rest_authentication_errors', function( $result ) {
    if ( ! empty( $result ) ) return $result;
    if ( ! is_user_logged_in() ) {
        return new WP_Error( 'rest_not_logged_in',
            'REST API requires authentication.', array( 'status' => 401 ) );
    }
    return $result;
});
Drop this into a mu-plugin at wp-content/mu-plugins/restrict-rest.php. Verify after that pages and posts still render if your theme uses REST on the frontend; some block themes do.
Step 7. Install a WAF and a scanner (3 minutes)
You want two things running on a production WordPress install: a web application firewall blocking known exploit patterns, and a file scanner checking core integrity. These can be the same plugin or different layers. We run both at different levels.
Three options, roughly in order of what we install:
- Edge-level WAF: Cloudflare’s WAF (on the free plan, the managed ruleset includes WordPress-specific rules) blocks the majority of exploit attempts before they reach your server. If your DNS is already on Cloudflare, you are one toggle away from this.
- Plugin WAF + scanner: Wordfence is the one we run on most agency sites. The free tier includes the firewall and core file scanner; the paid tier adds same-day access to firewall rules for newly disclosed vulnerabilities. See our plugin reviews for the comparison.
- Vulnerability patching layer: Patchstack approaches the problem differently. Rather than scanning for known malware, it virtually patches known CVEs at the application layer. Useful when a patch is not yet available from the plugin vendor but a vulnerability is already being exploited.
Pick one of Wordfence or a comparable plugin, keep it on the free tier until you have a specific reason to upgrade, and enable only the firewall and the file scanner. Stacking five security plugins causes more problems than it solves. The plugins fight each other for the same request lifecycle, create database bloat, and slow the site down.
Step 8. Turn off what is not there (1 minute)
Deactivate and delete every plugin and theme you are not using. Do not leave them deactivated. A deactivated plugin is still a file in your webroot, and if it contains a vulnerability, that vulnerability is still exploitable via direct URL access in most cases.
wp plugin list --status=inactive --field=name | xargs -I {} wp plugin delete {}
wp theme list --status=inactive --field=name | xargs -I {} wp theme delete {}
Keep one fallback theme (the WordPress default, Twenty Twenty-Five as of this writing) so the site has something to render if your active theme breaks. Delete the rest.
After the 15 minutes
The checklist above closes the attack vectors that automated scanning tools and commodity malware actually target. If you run through it on a site in reasonable starting condition, the site’s attack surface is now smaller than the majority of WordPress installs on the internet.
Things it does not cover, in rough order of what we do next:
- Security headers (CSP, X-Frame-Options, Strict-Transport-Security). Add these at the server or via a plugin like HTTP Headers. One afternoon of configuration and testing.
- Backups to a location you do not control. If your backup plugin writes to the same server as the site, a full-disk compromise destroys both. Off-site, versioned backups. Test the restore.
- Activity logging. We use Simple History on agency sites so that if something does go wrong, we can reconstruct what administrator did what, when. Not security in the preventive sense; security in the forensic sense.
- Periodic integrity scans, including what to actually look for if you suspect the site is compromised.
What most checklists get wrong
Reading through the fifty or so WordPress security checklists that rank for this keyword, we notice three recurring mistakes:
They treat every item as equal. “Change your database prefix” is not the same magnitude of intervention as “enable 2FA.” One closes a real attack vector; the other makes a class of SQL injection marginally harder if all the other layers fail. Order matters.
They recommend changing the wp_ database prefix. This is a 2012-era suggestion that has propagated through every hardening guide since. In practice, the benefit is small (some SQL injection payloads hardcode wp_), the implementation risk is real (a bad migration breaks the site), and if an attacker has SQL injection capability, they also have the ability to query information_schema and find the actual prefix. Skip it.
They end with “install a security plugin” and leave the question of which one, with which settings, to the reader. The plugin matters less than running one plugin with its default-plus-one-or-two settings turned on. Not five plugins. Not a security plugin whose firewall you never enabled.
Frequently asked questions
How often should I repeat this checklist?
The steps that stay in place (2, 4, 5, 6) need a re-check quarterly. Verify new administrators have not been added, wp-config.php constants are still present, and login protection still works after any hosting migration. The updating step (1) happens every week on any production site. The WAF and scanner (7) run continuously; check their alerts weekly.
Do I need a paid security plugin?
For a single site with low-to-moderate traffic, no. Free Wordfence plus Cloudflare’s free tier plus this checklist covers the same attack vectors the paid tiers do, with a 30-day delay on newly disclosed vulnerability firewall rules. That delay is meaningful during a zero-day wave but rarely the difference in practice. Agencies managing a dozen-plus sites almost always end up on the paid tier because central management and faster rule rollout are worth the money.
Does a security plugin slow WordPress down?
Yes. Any plugin that inspects every request adds a few milliseconds. A well-written one (Wordfence, Patchstack) is measured in single-digit milliseconds; a badly written one (we are not naming names, but you will recognize them by their marketing) can double your TTFB. The fix for slow security plugins is to pick a fast one, not to disable security.
I run my site on managed WordPress hosting. Do I still need to do this?
Most of it, yes. Managed hosting handles some items (server-level updates, some WAF coverage at the hosting layer), but the WordPress-layer items (administrator audit, 2FA, wp-config hardening, inactive plugin cleanup) are still your responsibility. Confirm with your host which items they cover and do the rest.
I inherited a site that has obviously not been maintained. Where do I start?
Run this checklist first. Then assume the site may already be compromised and read our guide to WordPress malware removal. Neglected sites frequently have backdoors from old incidents that the previous owner never knew about.
What about security headers like CSP?
Worth doing, but not in the first fifteen minutes. Content-Security-Policy in particular is easy to break a site with if you do not test it thoroughly. Plan a dedicated window, an afternoon, to set the headers, test on staging, then deploy. Start with HSTS and X-Content-Type-Options, which are low-risk and high-value.
Do I need to hide the WordPress version number?
No. The version is visible in dozens of places no matter what you hide in the <meta> tag. It leaks through readme.html, generator headers, plugin asset URLs, and CSS class names. If you are on a supported, updated version, an attacker knowing the version does not help them exploit you. If you are on an outdated version, the attacker was going to find you via automated scanning anyway. Fix the update problem, not the disclosure.
